Whether you are making a quick survival shelter, something long term, or a place to store supplies all you need is some wood, ropes, and tools from your Bushcraft kit to be on your way.
A-Frames
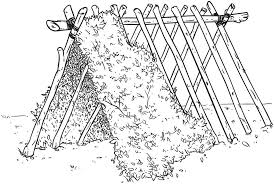
A-Frames are very simple shelters that have an open triangle shape on either one end or both ends. These make use of a main central ridge pole with smaller ribs coming off of the ridge pole. Layers are added across the ribs of progressively smaller sticks. If possible add large leaves, pine boughs, or patches of moss to make your shelter more water resistant.
This is a traditional A-Frame that is open on both ends. This style allows for more space but being open can caus drafts and a loss of insulation in windy or cold temperatures.
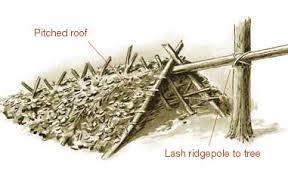
This angled style has the ridge pole elevated on one end, but grounded on the other. Seen here using a stump or natural "Y" in a tree, try toceep the opening at wiast height or lower. This may not seem spacious, but the tighter quarters will keep you warmer if thesides are kept from being drafty.
The pitched roof allows for a more inclosed space, but also allows rain to run off the top. If you dig a small trench on each side you can help make sure to channel the rainwater where you want it instead of flooding your shelter. In the example you can see the ridge pole is attached to a tree with some rope, likely a square or diagonal lashing.
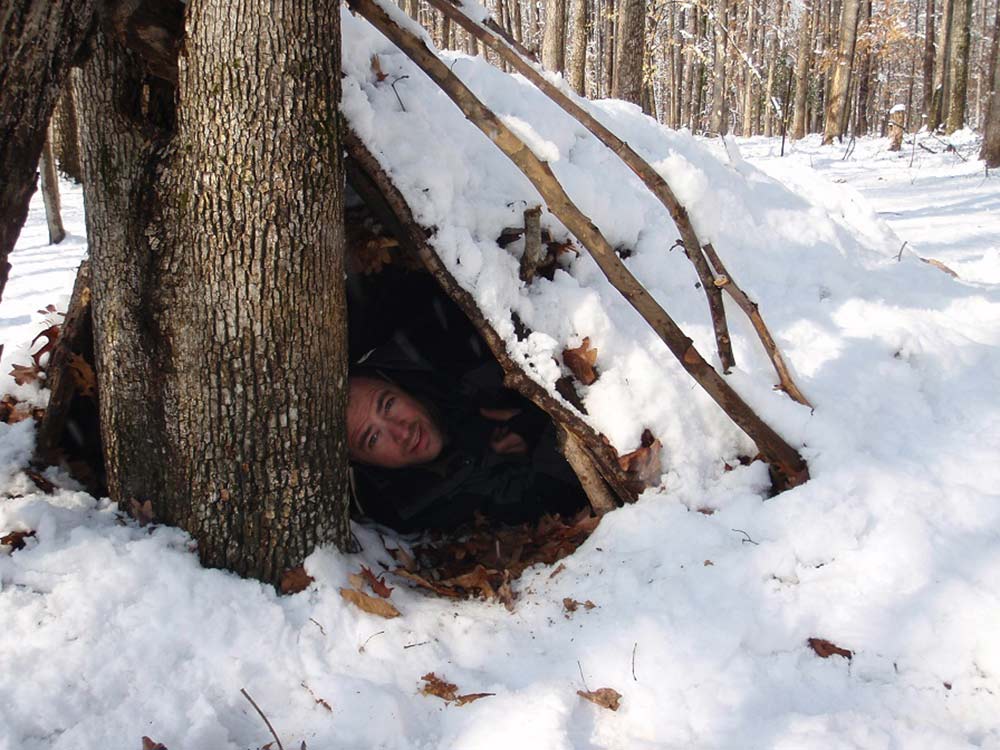
In winter time if you make sure your shelter is fairly water proof then packing snow on top can actually keep you warmer. Despite it's coldness, snow is a terrific insulator and will help keep you warmer inside.
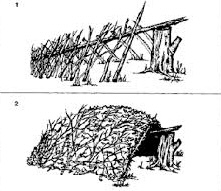
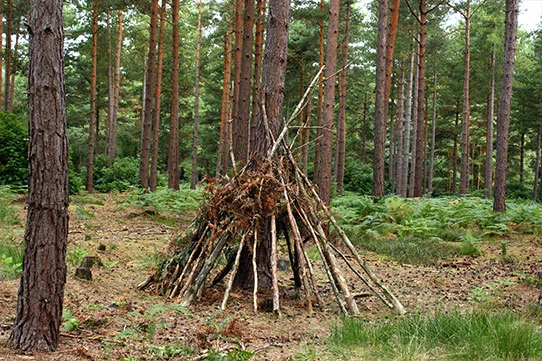
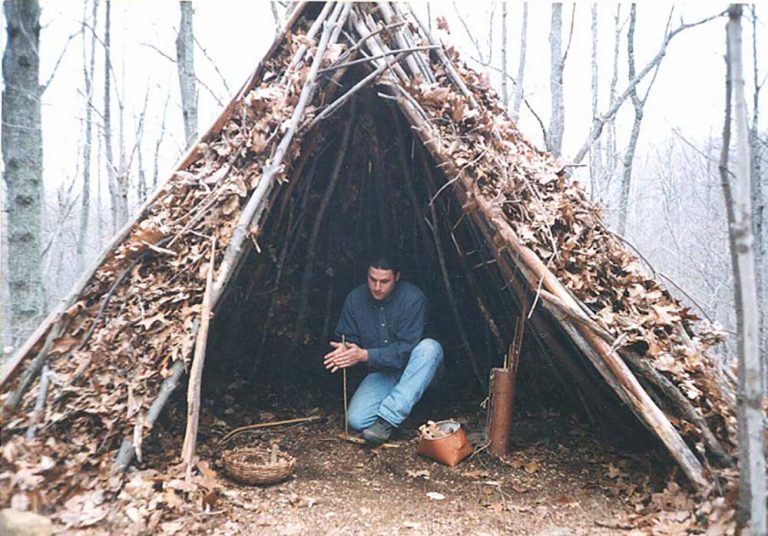
Wickiups
To start the Wickiup create a cone shaped structure of good sized spars. You can do this by using "Y" shapes of the limbs and balancing them together. You could also start by using a tripod lashing on three large poles and then adding others.
Once your basic shape is made you can add smaller sticks and leaves or moss to seal your structure to keep the water out.
Lean-Tos
Lean-Tos are simple structures that are one sided. Typically the fastest style to set up, but they are mostly useful as a windbreak, shield you from rain, or provide you with shelter from the sun.
Start with a crossbar, lashed to to upright poles as shown or lashed to two nearby trees. Then lay long poles at an angle with on end on the crossbar and the pther on the ground. If this shelter will be long standing consider packing dirt around the bottom of the pole for additonal support. Pack chunks of moss and/or evergreen boughs to increase wind and water proofing.
Longer Term Shelters
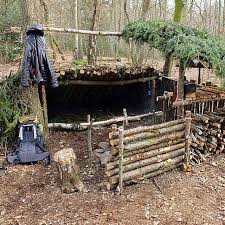
A quick survival shelter can be very important, but sometimes you have a private place that you frequent just for getaways. In these situations you might want to make something fancier to enjoy over your extended stays.
These types of shelters can be a lot of fun to build and keep you busy for a long time making additions and upgrades. Consider using mud or clumps of moss to fill the gaps between the horizontal logs to make it waterproof and less drafty.
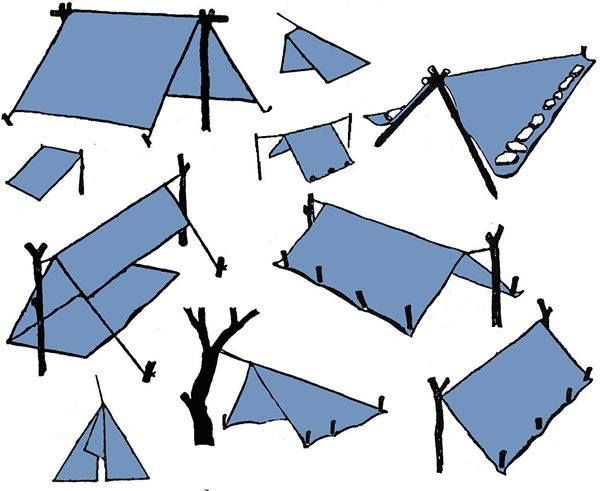
Tarp Shelters
The use of a tarp, some rope, and a few wood stakes you can quickly make yourself is all you need for an ultra quick shelter.
Tarp shelters can be made in several varieties depending on where you are and the weather you are experiencing you can pick a design that meets your needs.
If you are in a grassy area with few trees you can substitute a hiking pole of a tree limb.
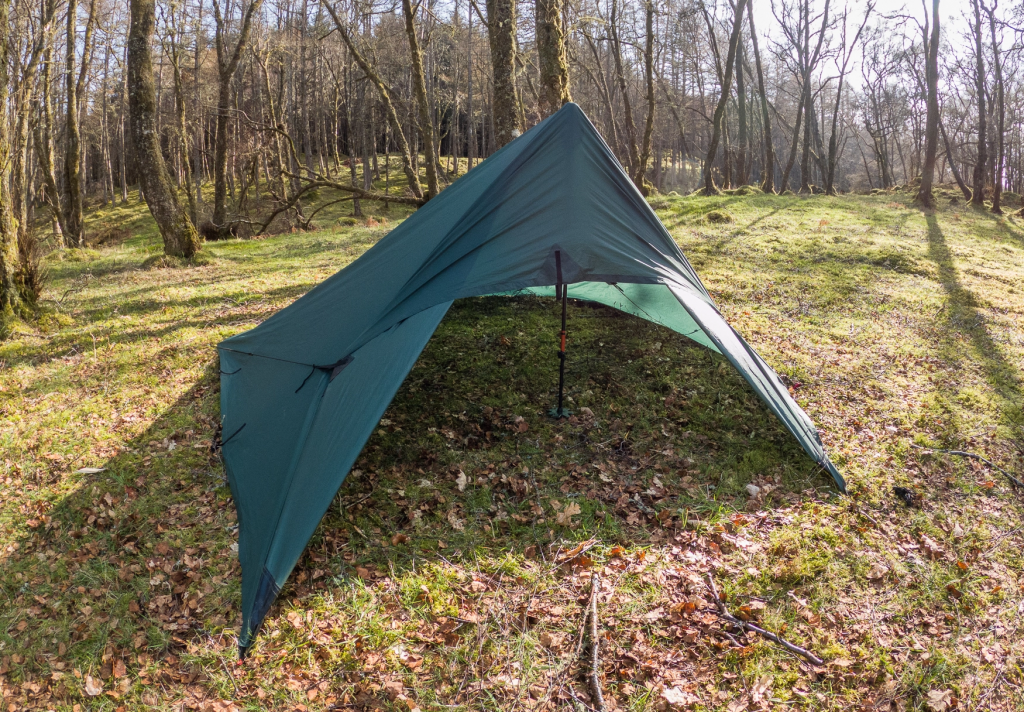
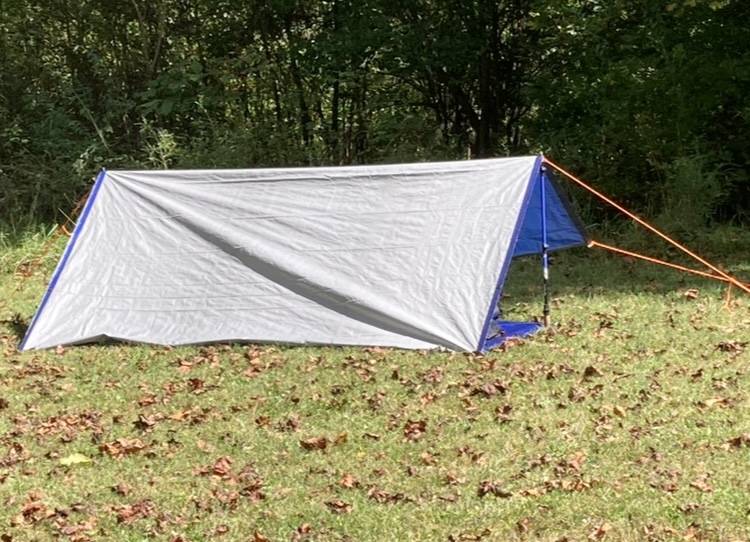
Here is a simple hangover style tarp shelter. This just takes a tarp, 2 trekking poles, 4 lengths of paracord, and 8 tent stakes.
This open ended design allows great air flow. If possible you will want a tarp longer than your body by a foot or two so that you have space on both ends in case of rain.
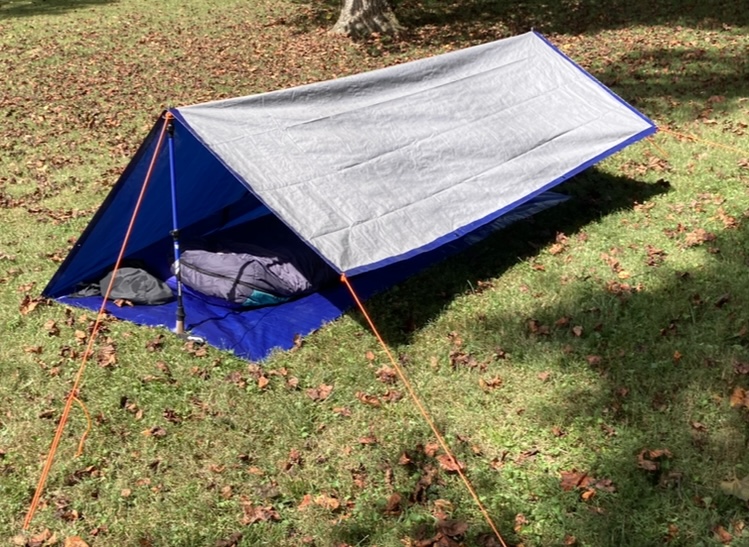
Adding a few poles to the two center grommets will allow you to have more openness but also pull the front corners down to direct rain where you want it.
Shelter Tips
Building a small wall, as seen in the foreground of this picture, up against your fire can help direct heat back towards your shelter. It is good to coat this wall with mud or line it with stones to keep the wall from burning as well.
Pine boughs can be set on the ground to make a soft bedding material.
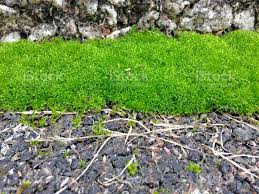
We have noted throughout this section that moss can come in handy as a waterproof layer or easy way to seal gaps. If done carefully moss can be taken in large sections.